
How to Prepare Your Interiors Before the Painters Arrive
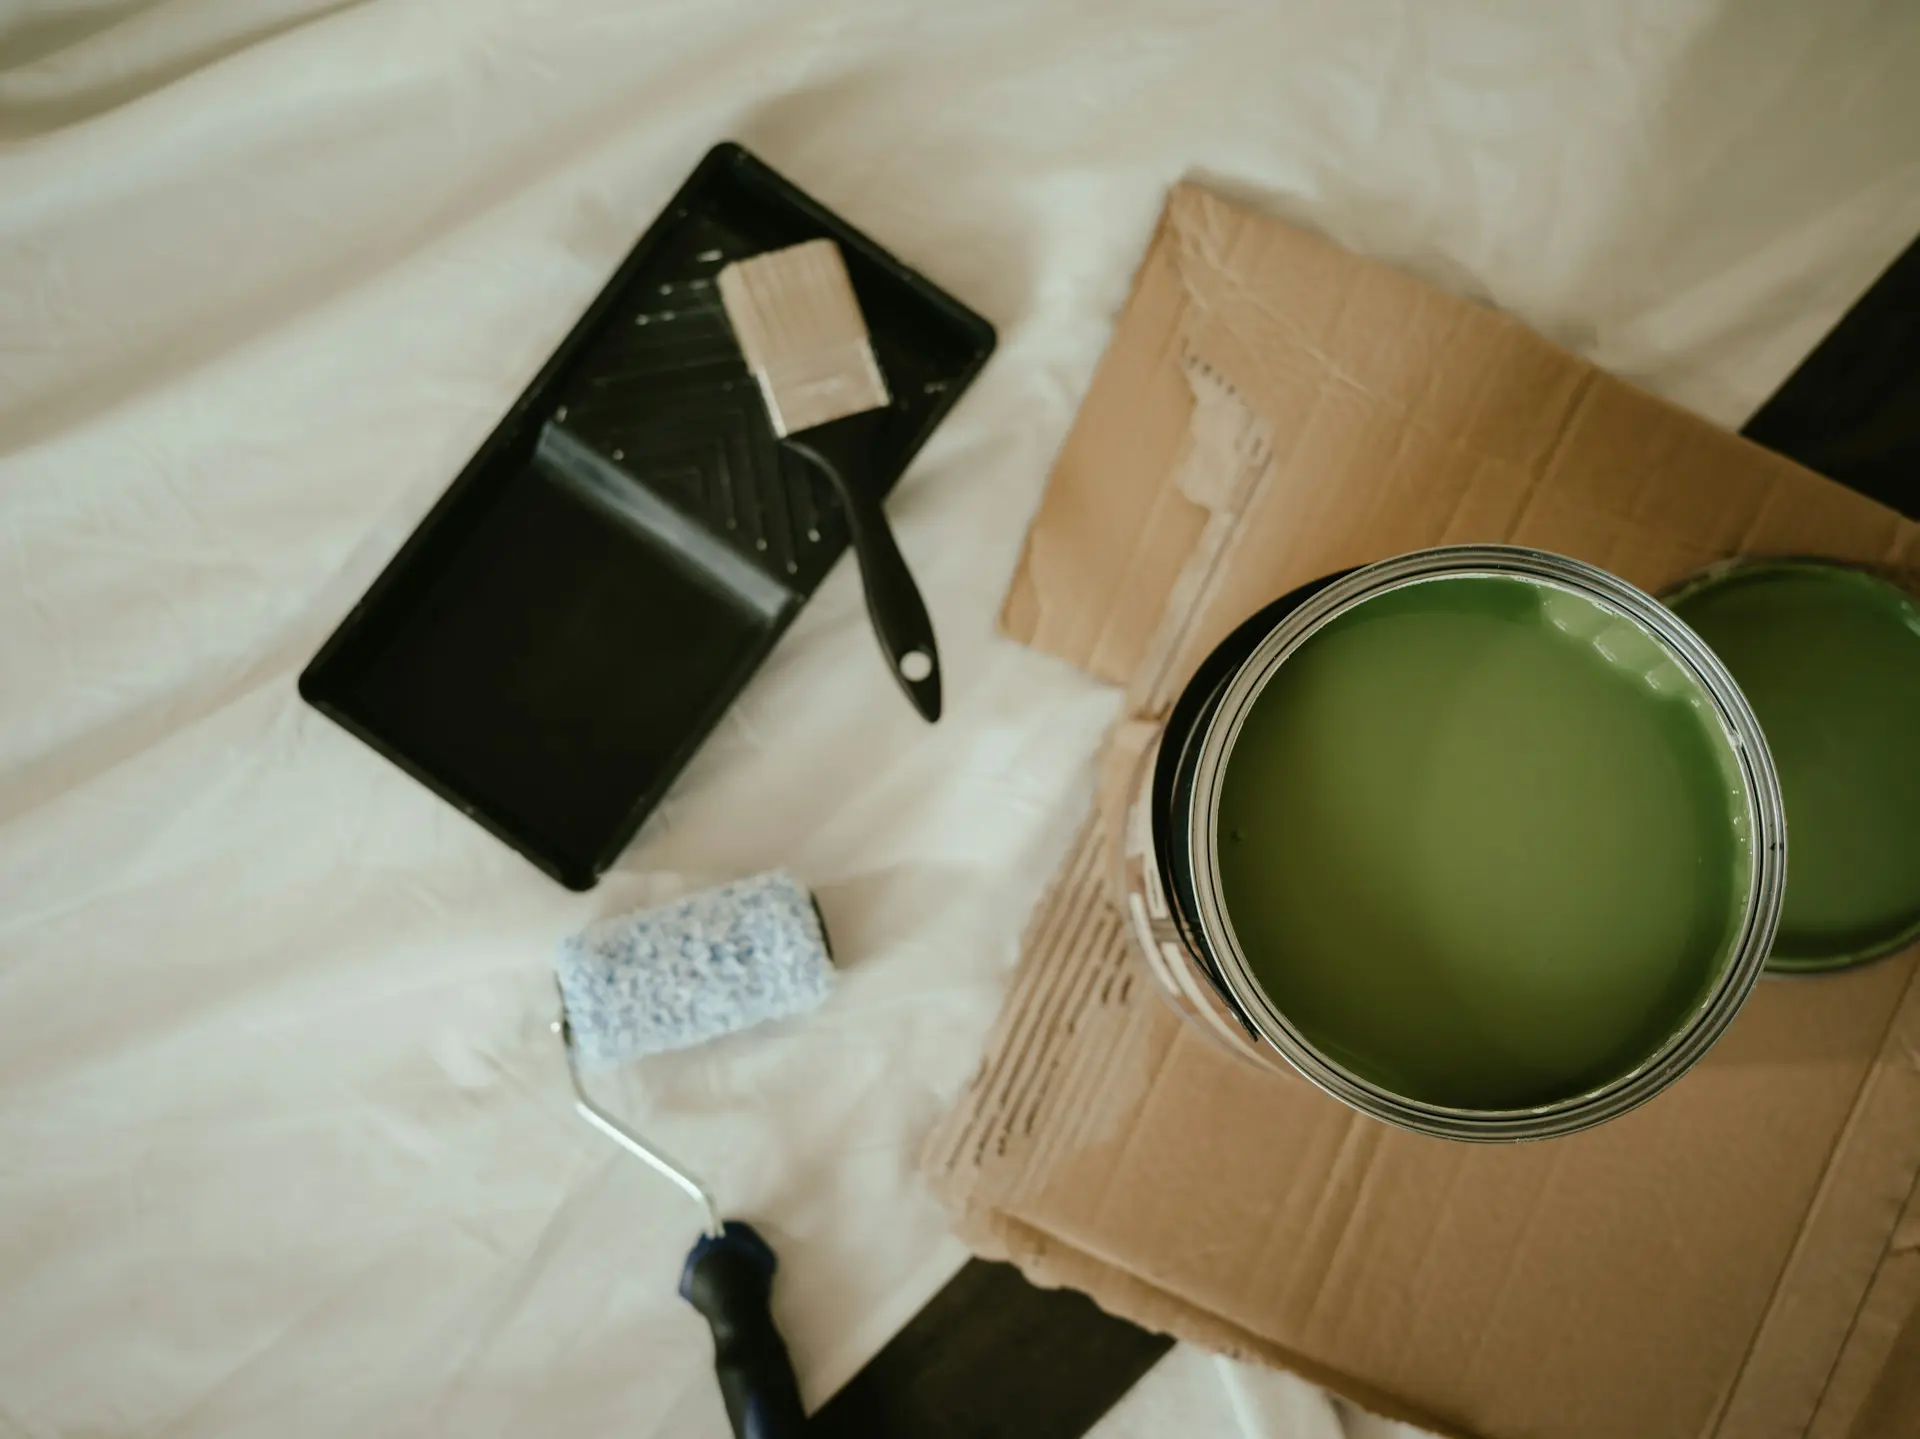
A fresh coat of paint can completely change how a room feels. But before any paint cans open, one part of the process often gets skipped: getting your space ready for the crew.
Preparing your home before interior painting starts isn’t about doing any of the painting yourself. It’s about giving painters a clear space to work in and setting the project up to go smoothly from the first hour. A few simple steps taken ahead of time make the difference between a project that moves efficiently and one that loses time to avoidable delays.
This covers why prep matters, what happens on the wall side before paint goes on, a room-by-room checklist you can work through before painting day, and what to expect once the crew arrives.
Why Prep Work Matters Before Interior Painting Starts
Skipping prep doesn’t just slow things down on painting day. It can affect how the finished paint job actually looks and how long it lasts.
When a room isn’t cleared ahead of time, painters spend part of the day moving furniture and covering surfaces that could have been handled in advance. That time comes out of the project, not the estimate, which means less time is available for the parts of the job that actually affect the finish. Rushed prep on the wall side is where problems really show up. Skipped patching, missed sanding, or paint applied over dust and debris leads to visible flaws that don’t show up until the paint dries and the light hits the wall differently.
A little planning on your end protects the investment you’re making. It also means the crew can focus on the work that matters most: a clean, even, professional finish.
What Professional Wall Prep Actually Involves
Before paint goes on, the walls themselves need attention. This is the part of the process that happens regardless of how well you’ve prepped the room, but understanding it helps set realistic expectations for what painting day actually looks like.
Walls get inspected for holes, cracks, and dents first. Nail holes from picture frames, dings from moving furniture, and any settling cracks around doors and windows get patched and smoothed before anything else happens. Skipping this step means paint goes over imperfections instead of a clean surface, and every flaw becomes more visible once the color changes. The same attention to detail applies to corners and edges, where getting clean, sharp lines takes more prep work than most homeowners expect.
Sanding follows patching. Rough patches, old drips, or uneven texture from a previous paint job need to be smoothed out so the new coat goes on evenly. Glossy surfaces also get lightly sanded or deglossed, since paint doesn’t adhere well to a slick finish.
Bare drywall, patched areas, and any spots where the old color is significantly darker than the new one need priming. Skipping primer on these areas is one of the most common reasons a paint job looks patchy or requires an extra coat to even out. If the damage goes beyond a nail hole or a settling crack, professional drywall repair usually needs to happen before paint prep can move forward.
Finally, caulking addresses gaps where walls meet trim, ceilings, or window and door frames. Clean caulk lines give the finished room a tighter, more professional look, and they help prevent moisture or air from working its way into small gaps over time.
Room-by-Room Prep Checklist
Working through your home room by room makes prep faster and easier to keep track of. Here’s what to focus on in each space.
Living Areas
- Move larger furniture toward the center of the room and cover it with a plastic sheet or cloth
- Remove smaller items completely, including table lamps, books, decor, and anything on shelving or built-ins
- Take down wall art, photos, and mirrors
- Roll up and remove area rugs
Bedrooms
- Clear nightstands, dressers, and any decor on walls or shelves
- Move beds and larger furniture away from walls where painters need access
- Remove closet door hardware or fixtures if the closet interior is being painted
Kitchens and Bathrooms
- Clear countertops of small appliances, decor, and personal items
- Remove items from open shelving
- Take down any towel bars, mirrors, or fixtures that will be in the way
Hallways and Entryways
- Keep walkways clear since painters carry equipment between rooms
- Lay down a tarp in hallways connecting to rooms being painted, since dust and supplies move in ways you don’t always expect
- Check vents and floor returns near the project zone
Taking these steps is especially useful if you’re planning other work at the same time, such as drywall repair or updates to trim and baseboards. Even though painters cover surfaces where they’re actively working, clearing shared spaces ahead of time keeps dust and debris from spreading further than it needs to.
If you haven’t settled on colors yet, working through paint color trends for Washington homes before painting day starts is worth doing early, since color decisions can affect prep in rooms where you’re changing from a dark shade to something much lighter.
Making Arrangements for Pets and Kids
Pets and children need a little extra planning before a painting project starts. Painters are moving through spaces with tools, ladders, and sometimes open doors, and having pets wander in or kids underfoot can slow things down and create safety concerns.
If possible, arrange for pets to spend the day somewhere else, whether that’s a friend’s house or a kennel. If that’s not practical, a quiet room with food, water, and a closed door works as a backup plan.
For young kids, shifting nap time or playtime to another part of the house helps keep things calmer. If the project runs longer than a few hours, having an alternate plan for their day reduces stress for everyone involved, including the crew trying to work around a busy household.
What to Share With Your Painting Team Before Work Begins
Before painters arrive, sharing a few details about your space helps the day go smoother. If there are areas you’ve patched yourself, spots you’re concerned about, or anything that needs special attention, this is the time to mention it.
Access matters too. Confirm that gates are unlocked, cars are out of the driveway if needed, and any doors or garages the crew will use are unlocked on schedule. If the project runs multiple days, some painters may ask about Wi-Fi access or a bathroom they can use during the day. Answering these details up front means the crew can stay focused on the work itself instead of tracking down access on the fly.
Confirming the day-of schedule matters just as much. Some homeowners stay home during the project, while others prefer to be out. Either works, but if you won’t be there, talk through how the crew gets inside. A temporary code for a door, keypad, or lockbox is usually the simplest option. Keeping your phone nearby during the project also helps, since a quick reply can resolve a small question before it slows down the day.
Timing Interior Prep Around the Seasons
Interior painting can happen year-round, which is one of its advantages over exterior work. But a few seasonal factors still affect how you prep.
In the wetter months common to the Pacific Northwest, homes tend to hold more indoor humidity, especially if doors and windows stay closed for longer stretches. Good ventilation during and after painting helps paint cure properly, so cracking a window or running a fan when weather allows makes a real difference. This matters most in kitchens and bathrooms, where preventing paint from peeling in humid conditions depends as much on airflow during the project as it does on the paint itself.
In drier, warmer months, faster drying times mean less flexibility for touch-ups between coats, so sticking close to the schedule your painters set matters more than usual.
Getting Ready Sets Up the Finish You Want
Preparing your home before interior painting starts doesn’t have to be complicated. Clearing rooms, protecting floors, planning for pets and kids, and sharing a few key details with your crew all add up to a project that runs on schedule and finishes the way you pictured it.
When a space is ready on day one, painters can focus entirely on the work that affects your results: clean lines, even coverage, and a finish that holds up. A little preparation now means a much smoother experience from the first walkthrough to the final coat. Learn more about our residential painting services or contact us today to schedule your interior painting estimate.