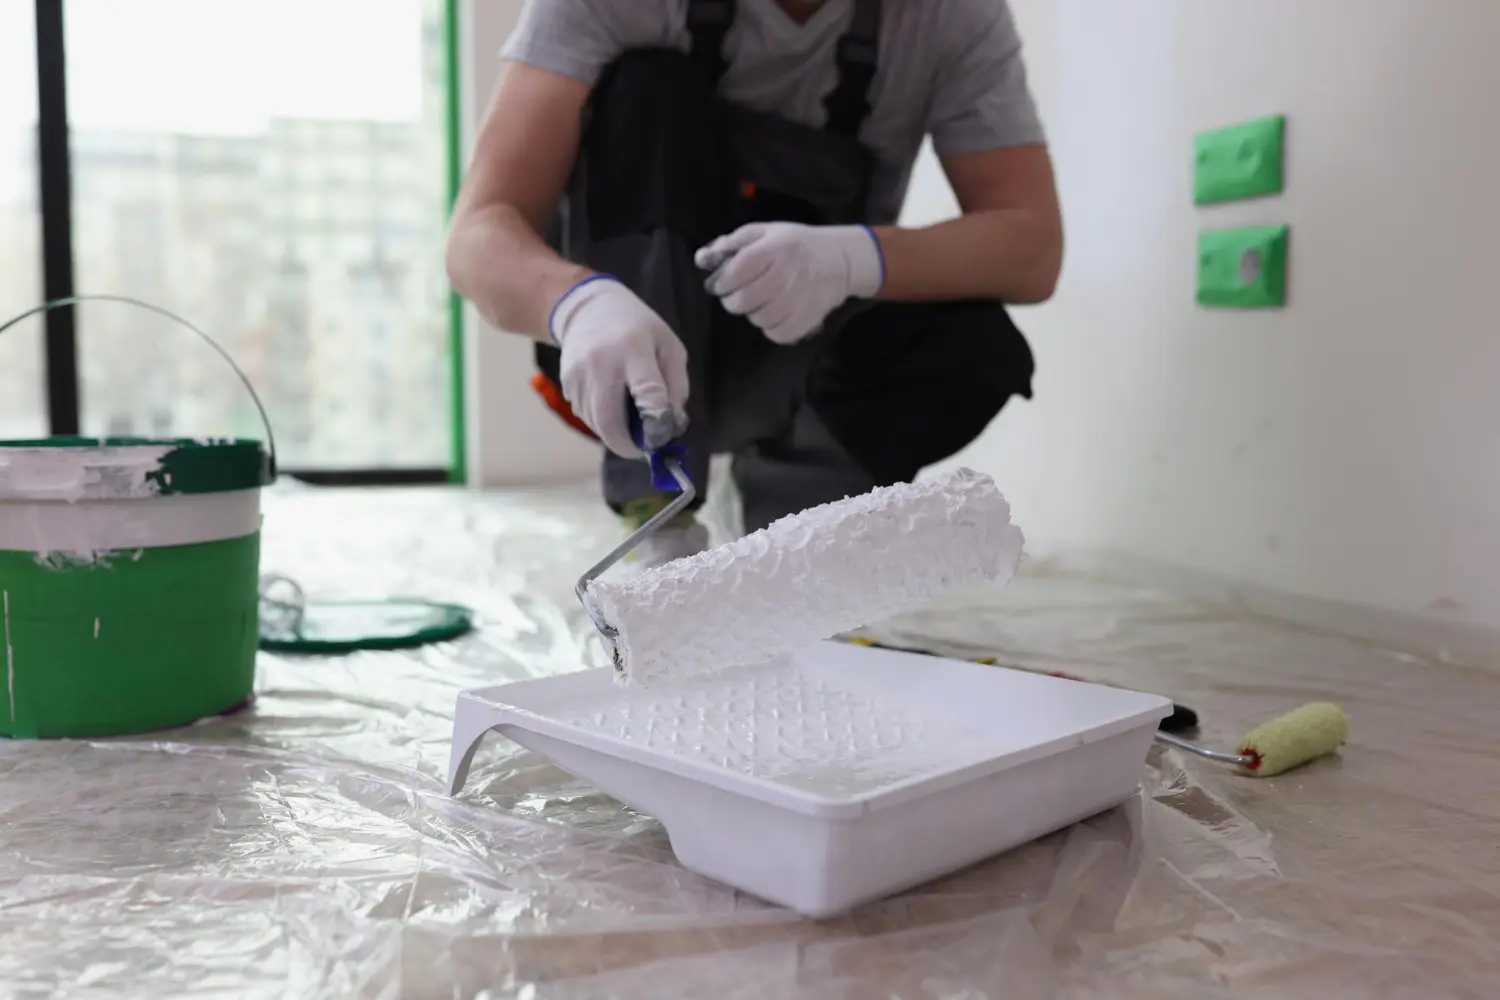
Professional Paint Application Methods for Lasting Results

Getting professional painting results that actually last starts long before any color hits the wall. It’s not just about how things look right after the job is done, but how they hold up over time. Homeowners, business owners, and property managers want finishes that don’t peel or fade after a few months. That’s where good application methods come into play. It takes the right prep, technique, and follow-through to make a paint job look great and stay that way.
While picking the right colors and products matters, it’s the approach to the painting itself that really determines how long it will hold up. The right steps at the right time make a big difference. Whether you’re freshening up a home or preparing a workspace, knowing what leads to long-term quality helps guide smart decisions from the beginning.
Preparing the Surface for Painting
Durability begins with what’s underneath the paint. Surface prep isn’t the flashiest part of the job, but it’s a major factor in how the paint performs. If a surface is dirty, peeling, or unprimed, even the best paint won’t stick properly or last long. That’s why professionals spend time making sure the surface is ready before anything else happens.
Here’s what proper surface preparation usually involves:
- Cleaning: Walls should be free of dust, grease, mold, and other buildup. A clean surface helps paint attach properly instead of peeling off in a few months. Degreasers or just some mild soap and water usually get the job done.
- Repairing: Holes, dents, or cracks in drywall, wood, or plaster need fixing before anything else. This keeps the surface smooth so paint applies evenly and looks clean when it dries.
- Sanding: Smoothing out glossy or rough surfaces helps paint grip the wall better. Light sanding can also remove flaking paint or patch buildup left behind from older coats.
- Priming: For new surfaces or ones that were heavily repaired, primer creates a solid base layer. It also helps block previous stains or color from bleeding into fresh coats.
Different surfaces need different types of prep. Plaster may need more delicate sanding to avoid damage. Wood might need sealing. Skipping these early steps might save time in the moment, but it often leads to bigger problems later.
Choosing the Right Paint and Tools
Once the surface is prepped, using the right paint is the next big factor. Paints come in different types of finishes that work better in certain areas. Low-traffic spots like ceilings might need one kind of finish, while bathrooms or kitchens need something more durable.
Here’s a general guide to choosing the right paint finish:
- Matte: Works well for ceilings or low-use areas since it doesn’t reflect much light.
- Eggshell: A touch of sheen makes this a good pick for living rooms and hallways.
- Satin: More durable and easy to clean. It’s popular for bathrooms, kitchens, and kids’ rooms.
- Semi-gloss and gloss: Best for trim, cabinets, and doors. These hold up against frequent wiping and heavier wear.
Paint quality plays a role too. Higher-end products last longer, resist fading, and deliver stronger color. It may feel tempting to go with budget-friendly options, but cheaper paint tends to require more coats and still doesn’t hold up the same way.
Beyond the paint itself, using the right tools helps make sure it goes on smoothly. A good roller helps with large wall areas, while an angled brush helps trim out corners and tight spaces.
The right setup doesn’t have to break the bank. It just needs to fit the surface and be used by someone who knows the method. Even the best paint can fail if it’s not applied carefully.
Application Techniques for a Professional Finish
The way paint is applied makes a big difference. Professionals follow consistent methods that help deliver even coverage, clean lines, and a finish that still looks great years later.
Here are some common steps and techniques used by painting pros:
- Use a primer layer first to help the paint stick well and reduce blotchiness
- “Cut in” around the edges of walls before using rollers on the larger areas
- Apply long, even strokes to spread paint smoothly and avoid lap marks
- Work from top to bottom to catch any drips before they dry in place
- Allow each coat to dry fully before adding the next one
Mistakes tend to happen when someone rushes. Applying layers too thick or not giving paint enough time to dry can lead to blistering or uneven color. On the other hand, spreading paint too thin can cause coverage problems and early peeling.
Professionals also avoid using tape since it can pull off flakes or leave blobbed edges if applied poorly. With a steady hand and experience, clean lines can be done quickly using just a brush, which results in neater work and saves time on prep and clean-up.
Ensuring Longevity and Durability
You might think the job’s done once paint dries. But the curing process and how you care for it afterward both impact how long the results last. Paint can take days or even weeks to fully cure, and treating it right during that time can really pay off.
Here’s how to make fresh paint last longer:
- Make sure each coat is completely dry before applying another
- Keep air flowing in the room to help it cure faster
- Hold off on cleaning or scrubbing the paint for at least two weeks
- Avoid pressing furniture against newly painted walls too soon
- Use a soft cloth when cleaning to avoid damaging the surface
Damage often starts when people try to hang things or clean too early. Even after paint feels dry, it needs time to strengthen beneath the surface. Addressing touch-ups without properly fixing the issue or using mismatched paint can turn a clean wall into an eyesore too.
In bathrooms, laundry rooms, and kitchens, moisture plays a role in paint wear. That’s why picking the right type of finish matters, but so does light air circulation and ongoing upkeep. Helping your paint stay clean adds years to its life without needing a full repaint.
Why Choose a Professional Painting Contractor in Renton
Choosing a painting contractor in Renton offers more than just saving time. It’s also about getting it done right the first time. A professional knows how to handle prep, apply coats evenly, and work in local weather conditions that might affect performance.
Renton homes deal with damp winters and warm summers. Indoor paint in this area needs to stand up to those shifts. A local expert knows which types of paints and finishes hold up best in those conditions and is prepared to handle challenges like busy schedules or commercial downtime.
Local knowledge matters too. Professional painting contractors in Renton know how to work indoors while managing ventilation and drying times in wetter seasons. That helps prevent delays and improves final results.
End-of-summer through early fall is a great time for interior paint projects. Dry days paired with moderate temperatures help paint cure fully, while minimizing disruptions to everyday life or work routines.
Why Method Matters with Equipped Painting
Getting consistent, long-lasting results isn’t just about the paint you choose. It comes from how the whole job is done. From detailed prep work to smooth application and thoughtful aftercare, those steps all add up.
With Equipped Painting, every stage of the project is handled with care. Whether repainting a home’s interior or upgrading a workspace, the goal is always the same—lasting results that still look fresh years later.
Investing in professional painting means fewer repairs in the future and a longer time between repainting. It also means getting clean lines, even color, and peace of mind that your home or business is in good hands.
Find yourself needing a fresh coat for your home or business? Team up with a trusted painting contractor in Renton to ensure high-quality results that stand the test of time. Discover how Equipped Painting delivers lasting finishes, tailored solutions, and dependable service. Make the most out of your investment by choosing professionals who truly understand your needs.


