
How to Prepare for Interior Painting When Drywall Repair Is Involved
When you are looking ahead to a fresh coat of paint indoors, one thing that can easily add time to your project is drywall repair. These are not just cosmetic fixes. Small cracks, dents, or old water damage can affect how well the paint sticks, how smooth the final result looks, and how long the job takes. That is why drywall repair typically come before any painting even begins.
If your goal is a high-quality interior finish, scheduling and planning around these repairs is a smart move. Especially in winter months, when humidity and colder temps play a role, understanding how drywall work fits into your overall painting timeline helps prevent delays. Whether you are repainting a hallway or revamping your entire living room, a little time spent upfront sets the tone for the whole project.
Step 1: Schedule a Walkthrough to Identify Wall Damage Early
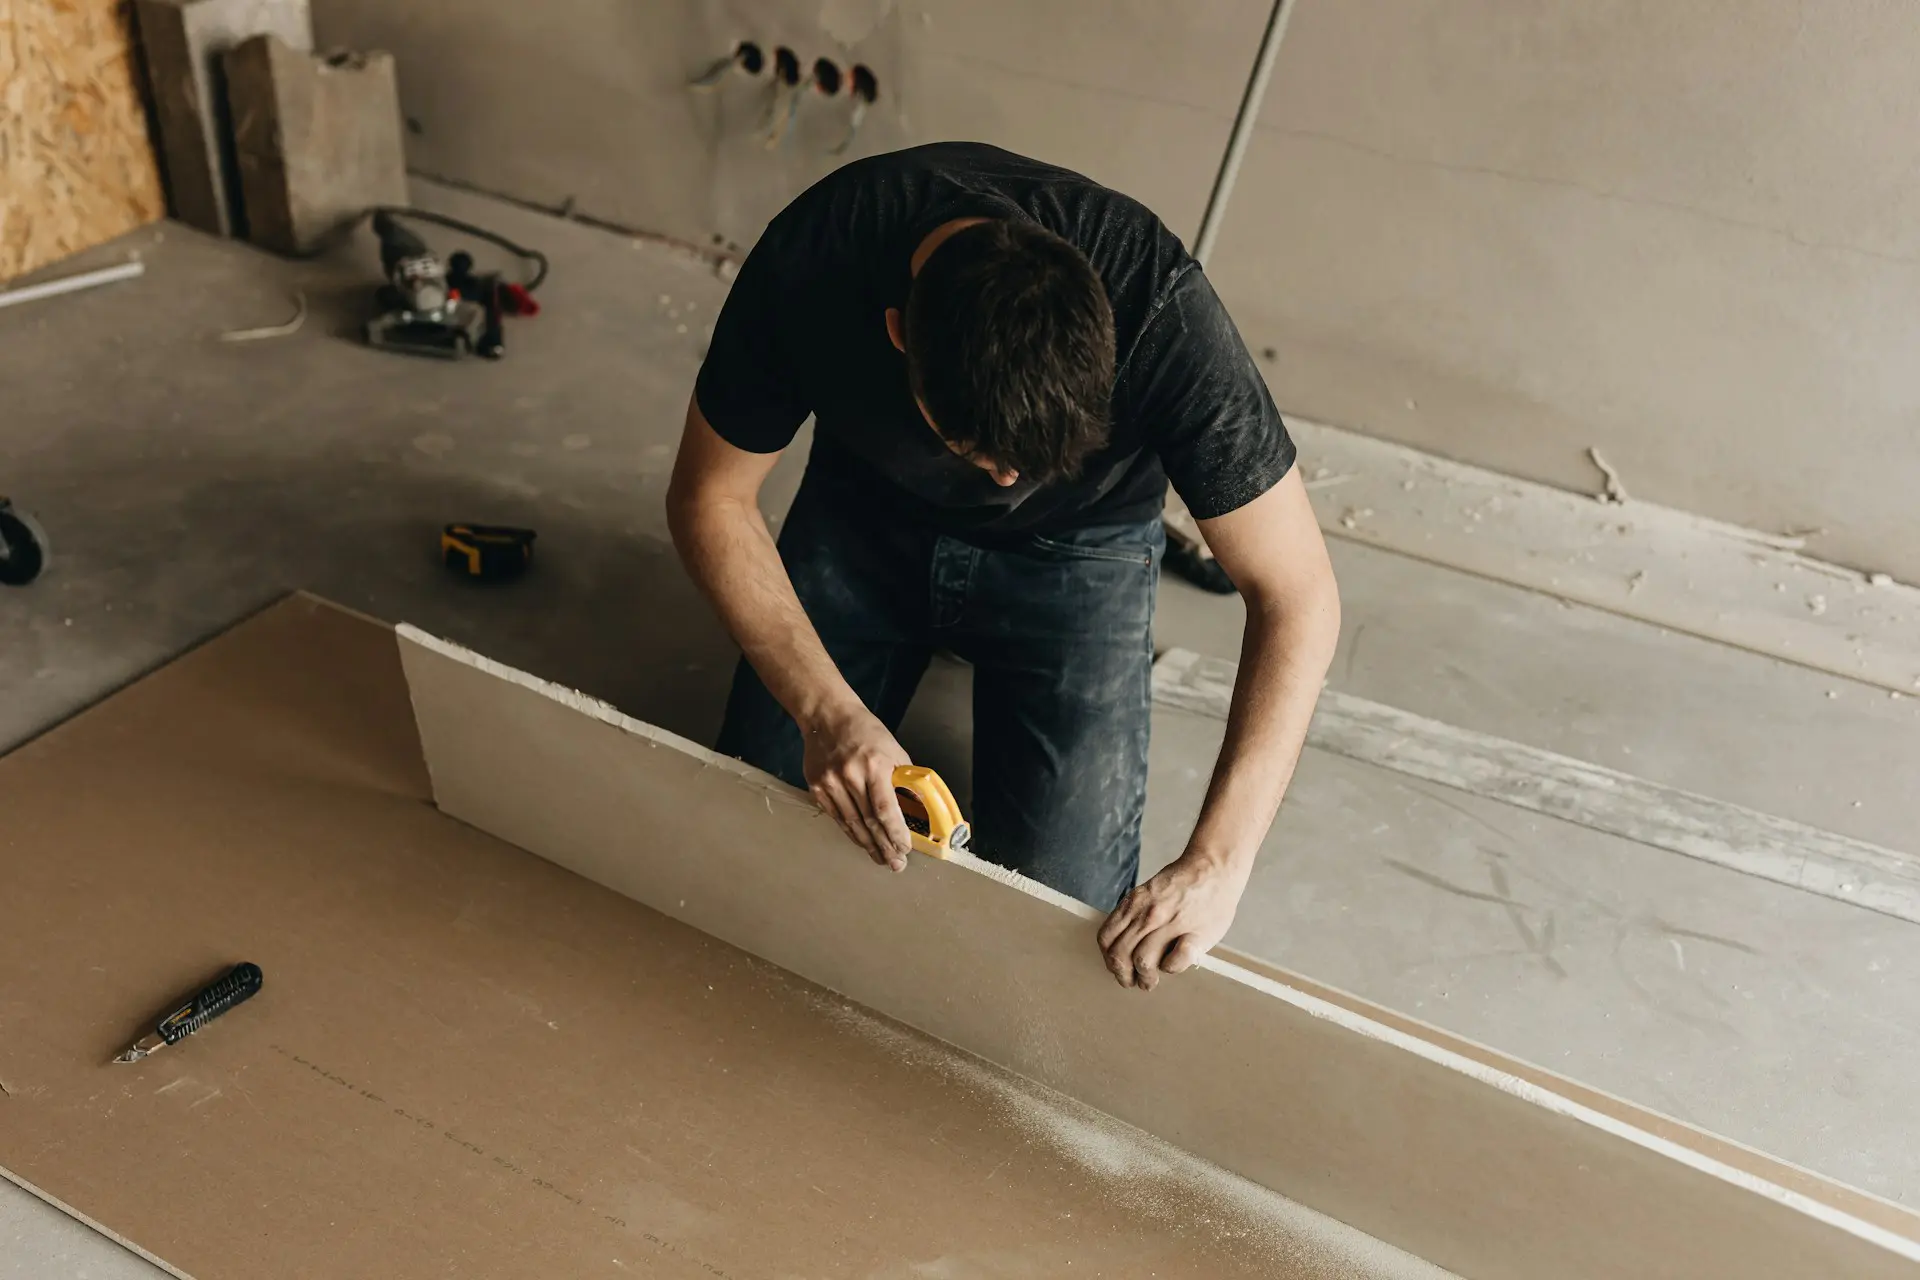
Before a brush even hits the wall, professional painters assess the wall surfaces. A thorough walkthrough lets us spot anything that might impact how the paint finishes. That includes common issues like:
- Wall cracks or shifting seams
- Nail pops or damage from hanging artwork
- Water stains that need sealing and repair
During this walkthrough, contractors identify where drywall work is needed and how it affects the timeline. Even small patches can require drying and sanding time, so early planning is helpful. Identifying these spots ahead of time avoids last-minute changes to your schedule. It also allows the appropriate crew and tools to be scheduled efficiently and correctly.
Step 2: Allow Time for Proper Drying and Curing
Once repairs are made, those areas need to fully dry before paint can be applied. Whether joint compound is used over a patch or sealing stains from a prior leak, that material has to cure completely. Skipping that dry time runs the risk of uneven paint coverage, bubbling, or adhesion issues.
This is especially true during winter months or in wetter climates like the Pacific Northwest. In homes around the Seattle area, seasonal dampness can stretch drying time longer than it would in the summer. That is something professionals factor into scheduling.
Professionals may recommend waiting an extra day or two between repairs and paint depending on the room’s humidity, the size of the patch, and the materials used. Rushing through this step rarely saves time in the long run.
Some issues require special attention, like water-damaged interior walls that might point to lingering moisture or deeper underlying problems.
Step 3: Move Furniture and Clear Wall Areas in Advance
Clearing the room is one of the best ways homeowners can help keep the project on schedule. Wall access is everything. It lets us move faster when we are repairing, priming, and painting.
That means:
- Taking down all artwork and wall-mounted decor
- Moving furniture a few feet away from walls or out of the room entirely
- Removing fragile or valuable items from the work area
Doing this ahead of time keeps projects from stalling on the first day. It also helps prevent damage to your belongings, protects flooring, and saves us all time. This is best handled before the crew arrives for drywall repair or painting work.
For larger projects where moving items is difficult, the painting team can work with homeowners to plan room by room, keeping timing organized and predictable.
Step 4: Communicate Your Project Goals with the Painting Team
Homeowners are encouraged to share their end goal with the painting team. Whether you are doing a touch-up for staging, updating colors for resale, or just refreshing a space you have lived in for years, these goals help shape the overall project approach, and how the work is scheduled.
Here is what helps:
- Share any deadlines, like hosting guests or listing the home for sale.
- Mention if you’re changing colors, since that may require more coats and prep.
- Point out areas that need special attention, like textured walls or accent features.
Clear communication early in the project helps manage time well, especially when drywall repair is mixed in. Some rooms may need more prep work or longer drying periods depending on the history of the wall surface, so the more information shared upfront, the easier it is to build an accurate schedule.
Step 5: Be Flexible and Build in Buffer Time
Even with a great plan, unexpected issues can come up once drywall repair begins. Sometimes, what looks like a surface fix turns out to be deeper damage. Water stains might trace back to a leak that was never fully addressed, or a small crack might lead to a seam needing reinforcement along the whole wall.
When flexibility is built into the timeline, professionals can address these issues without risking the quality of the paint job. Experienced crews aim to keep projects moving, but good work does not like to be rushed.
If you are working with a tight deadline, build in a few extra days just in case. That buffer gives pros the freedom to do things the right way, not the fast way, and it spares you the stress of pushing to finish under pressure.
Working with experienced professional painters makes this part easier, as they can accurately estimate buffer time and adjust project flow when needed.
Why Proper Drywall Repair Makes a Big Difference
Every job goes smoother and looks better when walls are sound and surfaces are ready. Taking the time to complete drywall repair ahead of painting means steady progress for the rest of the project. You are far less likely to run into hidden surprises halfway through.
More importantly, it gives pros a clean canvas to work with. Paint sticks better, color reads more evenly, and the final result lasts longer. These steps may feel small, but they add up quickly and make a noticeable difference by the time the last wall is brushed and rolled. Planning for drywall repairs at the start helps deliver a finish that looks great and holds up well.
To ensure your painting project is completed smoothly and on time, don’t overlook the importance of drywall repair services. Properly addressed repairs not only enhance paint adhesion but also contribute to a more seamless and long-lasting finish. Trust Equipped Painting to manage these essential steps, ensuring your walls look flawless from start to finish. Let us handle the details so you can enjoy a beautifully painted space without the stress.


